Bulk Create Users
Objective: Gain an understanding of how to bulk create/update users using Data Exchange.
Prerequisites: These actions require some things to be completed prior to commencing.
-
The 'clientAdmin' role is required to bulk create/update users using Data exchange.
Steps:
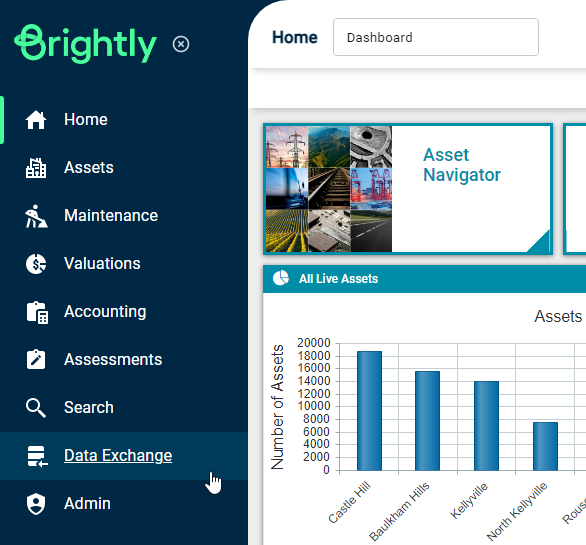
From the Navigation Sidebar, select the 'Data Exchange' module:
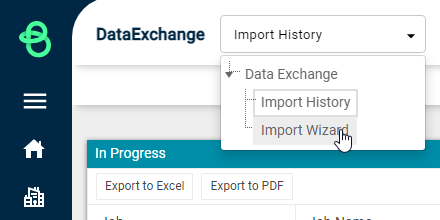
From the Navigation Dropdown, select 'Import Wizard'.
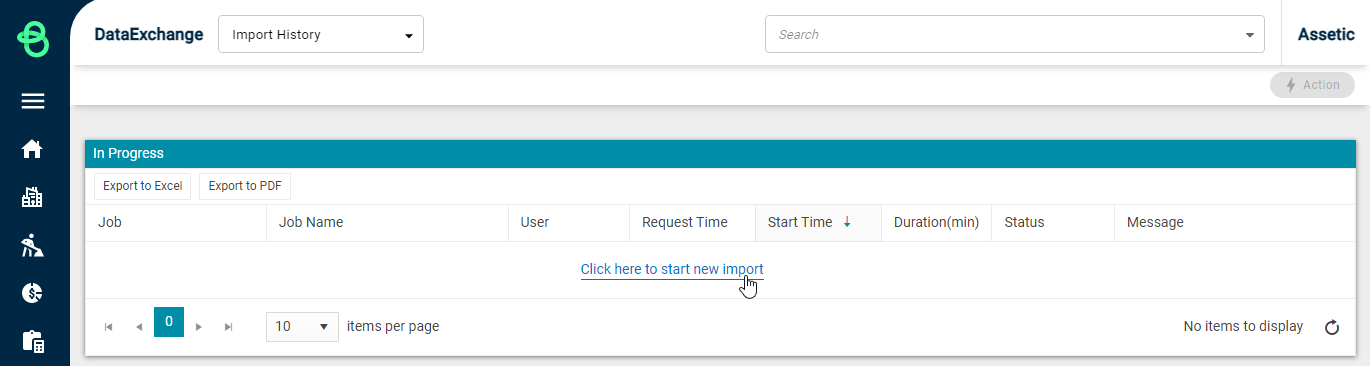
Alternatively, if there is no Data Exchange job currently in progress, the 'Click here to start new import' hyperlink is displayed in the 'In Progress' grid, which takes the user to the 'Import Wizard':
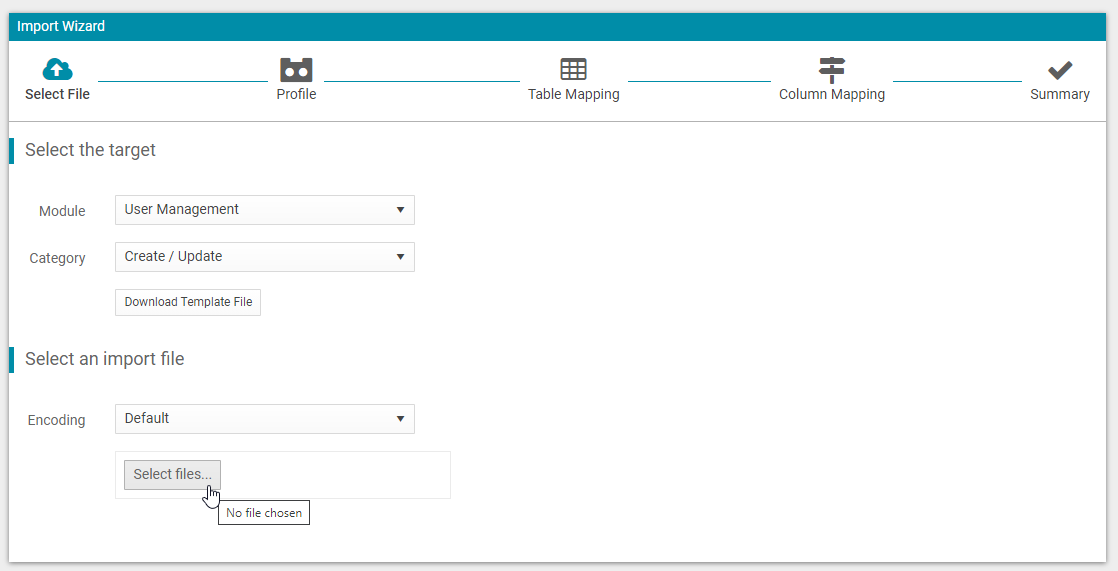
From the Module drop-down, select 'User Management' and select 'Create/Update' from the Category.
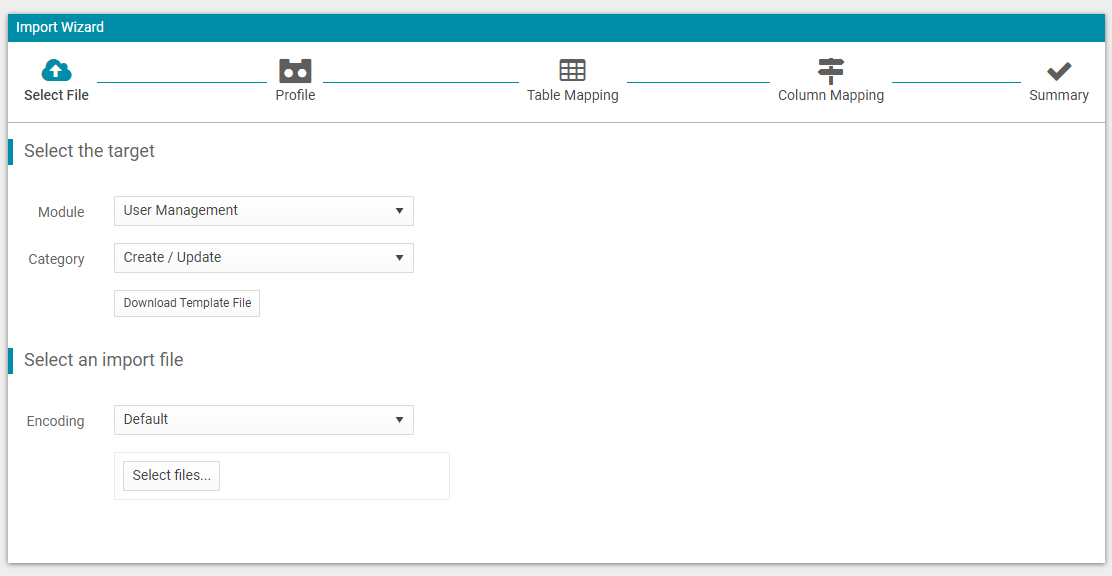
Click on the 'Download Template File' button to download the template as shown above.
Once the template has been downloaded, populate the columns with appropriate data:

-
Email: Valid email of the user being added.
-
First Name: First name of the user being added.
-
Last Name: Last name of the user being added.
-
Email Confirmed: This field should be left unpopulated.
-
Inactive User: As the user is being added for the first time, this field can be populated as False.
-
Roles: This field can be populated with required user role or roles, separated by a semicolon (;) between each role. The roles need to be populated as they'd appear in the Administration -> User Management section.
-
Asset Access Controls: This field can be populated with optional user Asset Access Controls
-
Contractor Organization Name: If the user is assigned a contractor user role, this field must be populated with the name of the Contractor Organisation to which that user belongs.
An example of a populated template is shown below:

Once the template is populated, save the template and return to Data Exchange. Click on the 'Select files' button and select the saved template file.
Profile - select 'Next':
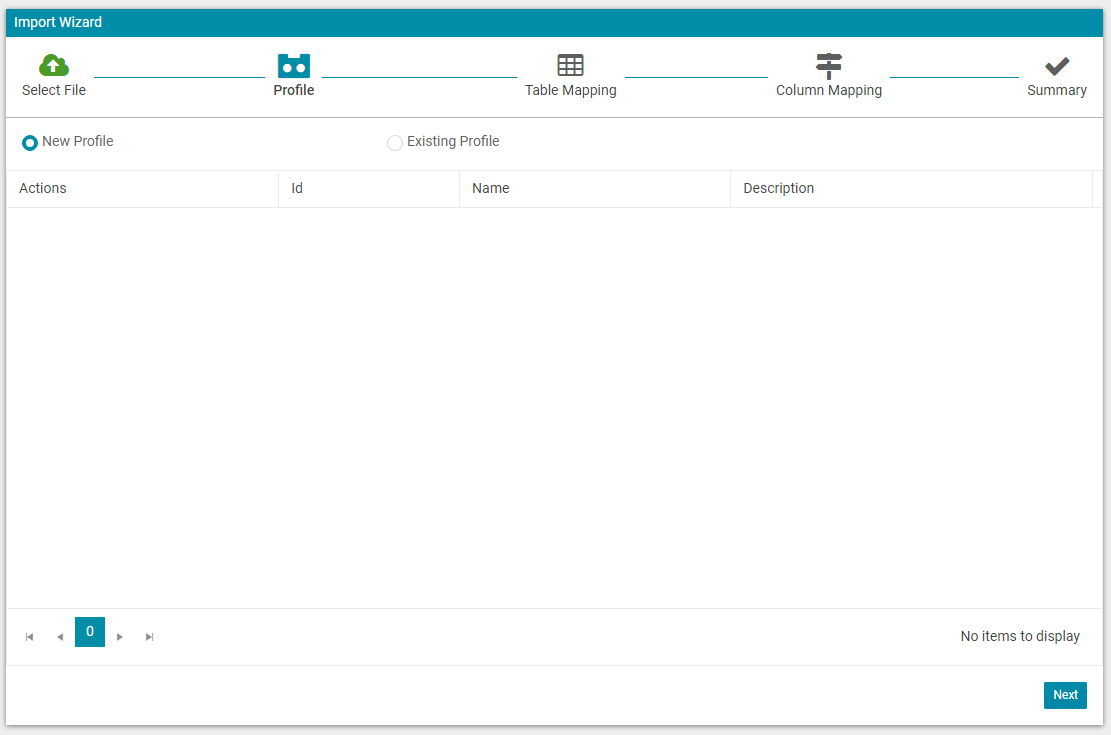
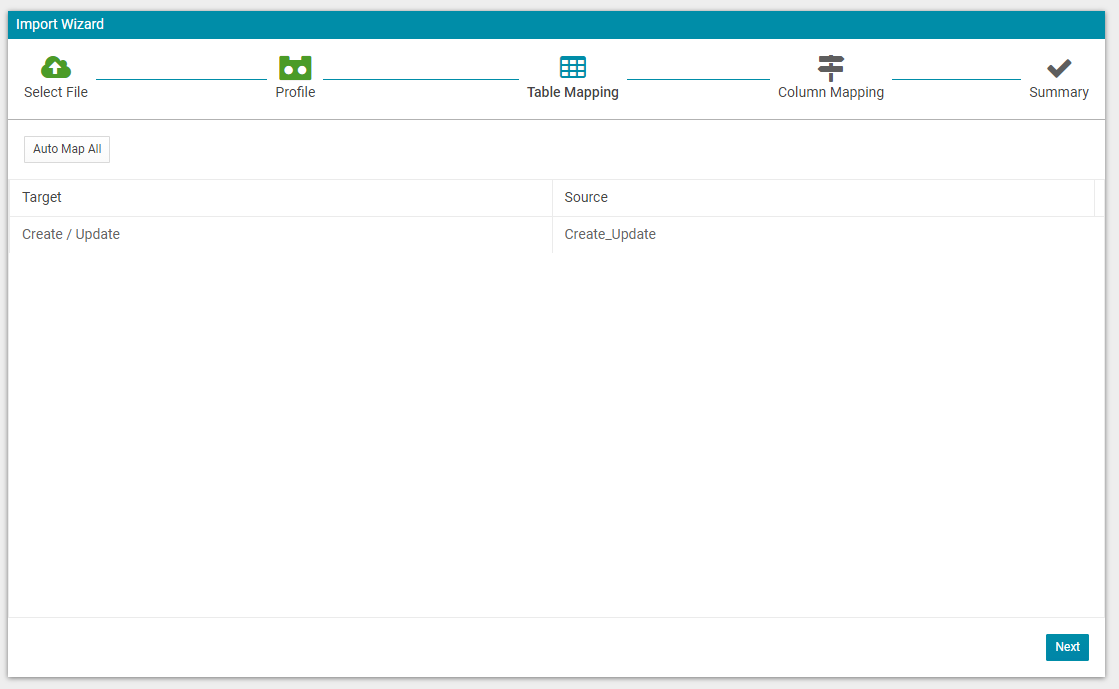
Table Mapping - select 'Next':
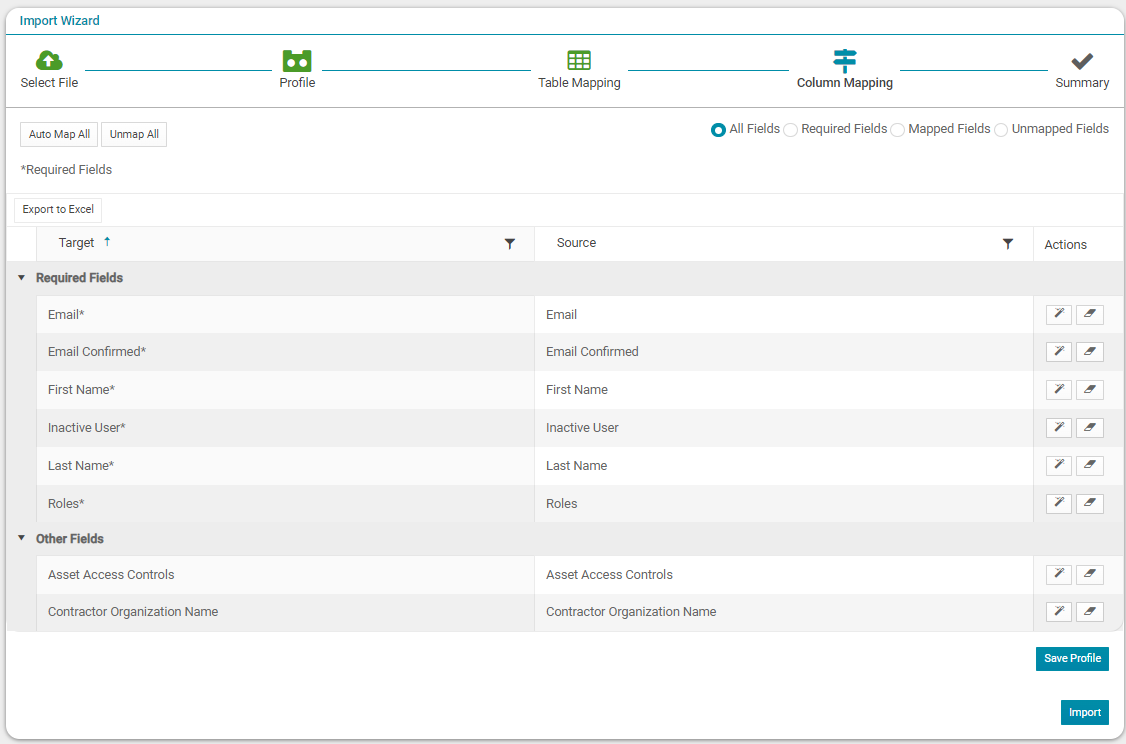
Column Mapping - Map the required fields (mandatory) and other fields (if required) and select 'Import':
Import Summary - select the 'View Status' button:
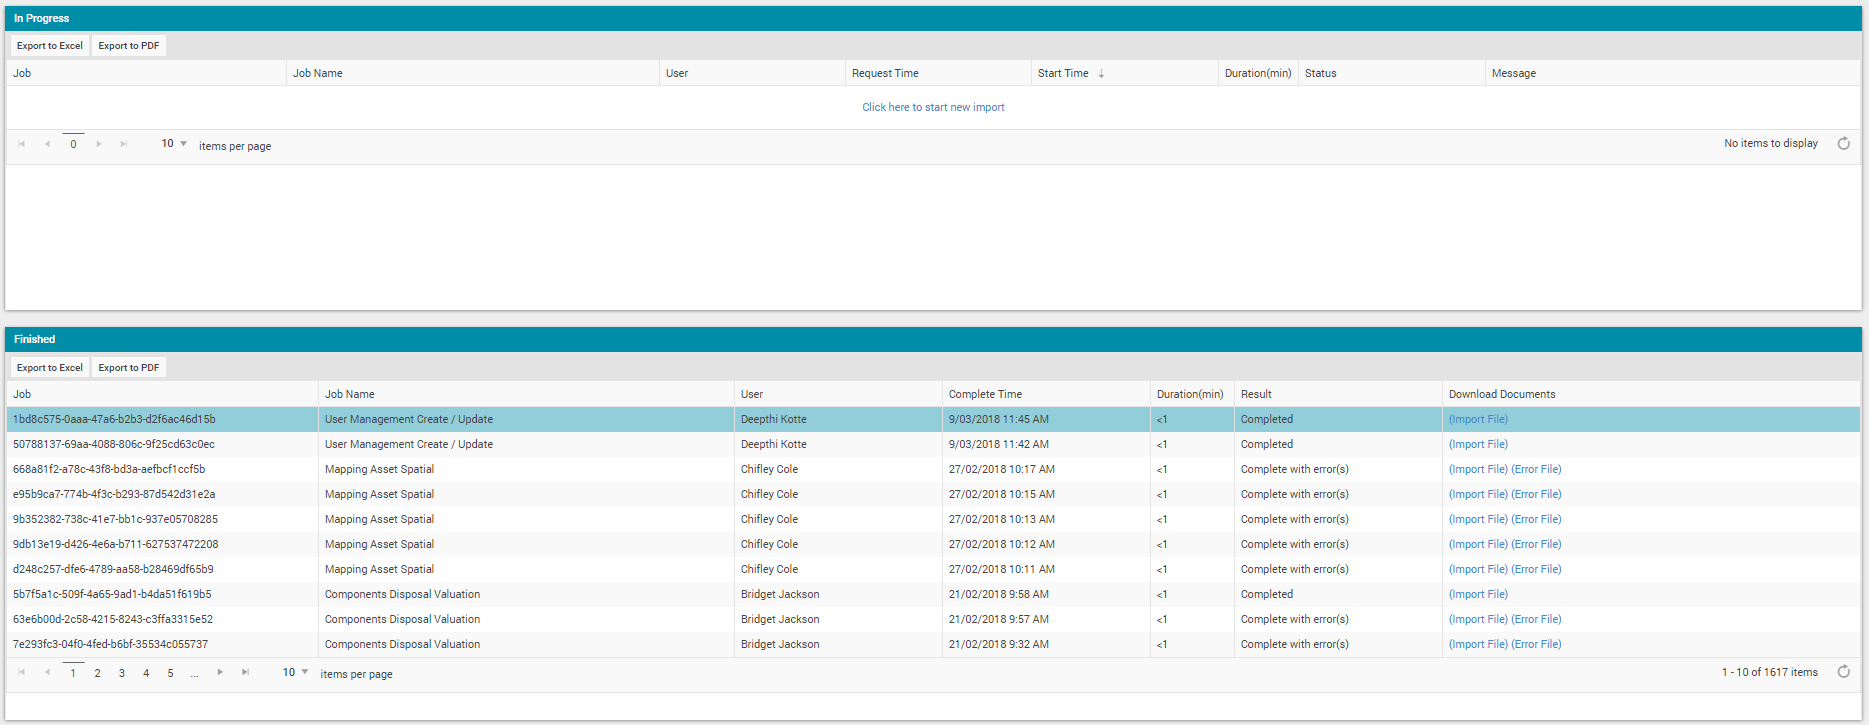
In the 'Result' field the upload status is listed, and the original import file and the error file (if applicable) are available from the 'Download Documents' field.
As the Templates available in Data Exchange are in csv format and do not have additional information about the field definitions and mandatory field details, an annotated excel version of the same files with related information and sample data is available here
